Getting through airport security and managing layovers can be the most stressful parts of air travel. The key is preparation before you leave home and knowing exactly what to keep accessible in your carry-on. This guide covers the essential steps from your front door to the gate, including how to pack your personal item, what to do during a delay, and how to keep your documents safe throughout the trip.
Before you leave for the airport
Start by checking your flight status the morning of travel. Airlines change gates and times, and knowing ahead helps you avoid surprises. Lay out everything you plan to carry on and check that your ID and boarding pass are within easy reach—not buried in a bag.
Wear slip-on shoes and minimal metal accessories. Belts, watches, and jewelry with metal can slow you down at security. Choose a jacket or hoodie that you can remove quickly, as you will need to take it off for the X-ray machine.
If you are driving to the airport, review the Ready.gov car safety checklist to ensure your vehicle is prepared for the trip. For international travel, consult the State Department traveler’s checklist for passport validity and visa requirements. Also check the CDC Travelers’ Health page for any recommended vaccinations or health advisories for your destination.
ID and boarding pass
Your government-issued photo ID and boarding pass are the two items you will need most often—at check-in, security, and the gate. Keep them together in a dedicated pocket of your wallet or a small travel document organizer that you can pull out without digging.
For domestic flights within the United States, adults need a REAL ID-compliant driver’s license or state ID, or another TSA-accepted ID such as a passport. For international travel, a valid passport is required. Check the State Department country information pages for entry requirements, including visa rules and passport validity (many countries require at least six months remaining).
Consider enrolling in the Smart Traveler Enrollment Program (STEP) before an international trip. It lets the nearest U.S. embassy or consulate contact you in an emergency.
Store a digital copy of your ID and boarding pass on your phone as a backup, but remember that many airlines still require a physical document for boarding. Keep the physical copy in the same spot every time so you never have to search.
Security screening prep
Security screening goes faster when you prepare your carry-on before you reach the conveyor belt. Follow the TSA liquids rule as general guidance: liquids, aerosols, and gels in containers of 3.4 ounces (100 milliliters) or less, all placed in a single quart-sized clear plastic bag. Check the current official page and your airline before travel, as rules can change.
In standard screening lanes, take the liquids bag out of your carry-on and place it in a bin, and take out your laptop and other electronics larger than a phone. TSA PreCheck lanes usually let you leave them in; follow the officers’ instructions. If you have a full explanation of the TSA liquids rule, it covers what counts as a liquid and how to pack toiletries efficiently.
Empty your pockets completely: phone, wallet, keys, coins, tissues, lip balm—everything goes into your carry-on bag or a bin. Jackets and hoodies go into a bin as well. Belts and shoes with metal soles or thick heels also need to go through the X-ray. Slip-on shoes make this step faster.
If you carry a power bank or spare lithium batteries, they must stay in your carry-on, not checked luggage. The FAA PackSafe lithium batteries page provides safety guidance: keep battery terminals protected from short circuits (tape over contacts or store in original packaging).
Before you enter the screening area, check the TSA What Can I Bring tool for any item you are unsure about. It covers everything from sports equipment to food.
Your personal item
Your personal item (a backpack, tote, or small duffel that fits under the seat) is your lifeline during security and layovers. Pack it with items you will need before boarding and during the flight. A carry-on essentials checklist can help you remember everything.
Essentials for your personal item:
- ID and boarding pass (as noted above)
- Phone and charging cable
- Power bank (fully charged)
- Empty reusable water bottle—fill it after security. Consider long flight essentials for more hydration tips.
- Snacks that are not liquid or gel (granola bars, nuts, dried fruit)
- Prescription medications in original bottles with labels
- Small toiletries (travel-size toothpaste, deodorant, face wipes)
- Earplugs or noise-canceling headphones
- Eye mask for sleeping
- Change of socks or a light layer (airplanes can be cold)
- Pen for filling out customs forms
A long flight essentials guide goes deeper into comfort items like compression socks and neck pillows, which are especially useful on long-haul routes.
Keep your personal item organized with packing cubes or pouches so you can find small items without dumping everything out. A clear toiletry bag for liquids makes security checks faster.
Consider carrying a collapsible water bottle that takes little space when empty. Fill it at a water fountain after passing through security to stay hydrated without buying expensive bottled water at the airport.
Layovers and delays
A layover can be a chance to rest, eat, or explore the airport, but it can also turn into a long wait if your connecting flight is delayed. Prepare for both scenarios.
When you land at the connecting airport, check the departure screens immediately for your next gate. Sometimes gates change between flights. If you have a tight connection, move quickly but do not run—most airports have moving walkways or shuttle trains.
For longer layovers (two hours or more), find a comfortable spot near your gate but not too close to the boarding area crowd. Look for seating with access to power outlets. Many airports now have charging stations, but they can be crowded. A power bank in your personal item ensures you can charge your phone even if outlets are taken.
If a delay is announced, check your airline’s app for rebooking options. Often you can change to an earlier or later flight without waiting in line at the customer service desk. Keep your phone charged and notifications on.
Stay hydrated during layovers. Airports are dry environments, and dehydration can worsen jet lag and fatigue. Fill your reusable bottle after security. Avoid excessive caffeine and alcohol, which can dehydrate you further.
If the delay is significant (several hours), consider finding a quiet area to rest. Some airports have nap pods, lounges (pay-per-use or through credit card benefits), or designated quiet zones. A travel pillow and eye mask from your personal item can help you catch some sleep.
Charging and staying connected
Your phone, tablet, and laptop are essential for boarding passes, entertainment, navigation, and communication. Keep them charged throughout the journey.
Before you leave home, charge all devices fully. Pack a power bank with enough capacity to charge your phone at least once or twice. The FAA requires power banks to be carried in your carry-on, not checked luggage. Tape over the terminals or store them in a protective case to prevent short circuits.
Bring a charging cable that is long enough to reach outlets from your seat. A six-foot cable is useful in airport seating areas where outlets may be behind furniture. Also carry a wall charger with multiple USB ports so you can charge several devices from one outlet.
At the airport, look for charging stations near gates, food courts, or in lounges. Some airports have free charging lockers. If you are using a public USB port, consider a data-blocking adapter to prevent data transfer while charging. Alternatively, use your own wall charger and outlet instead of a public USB port.
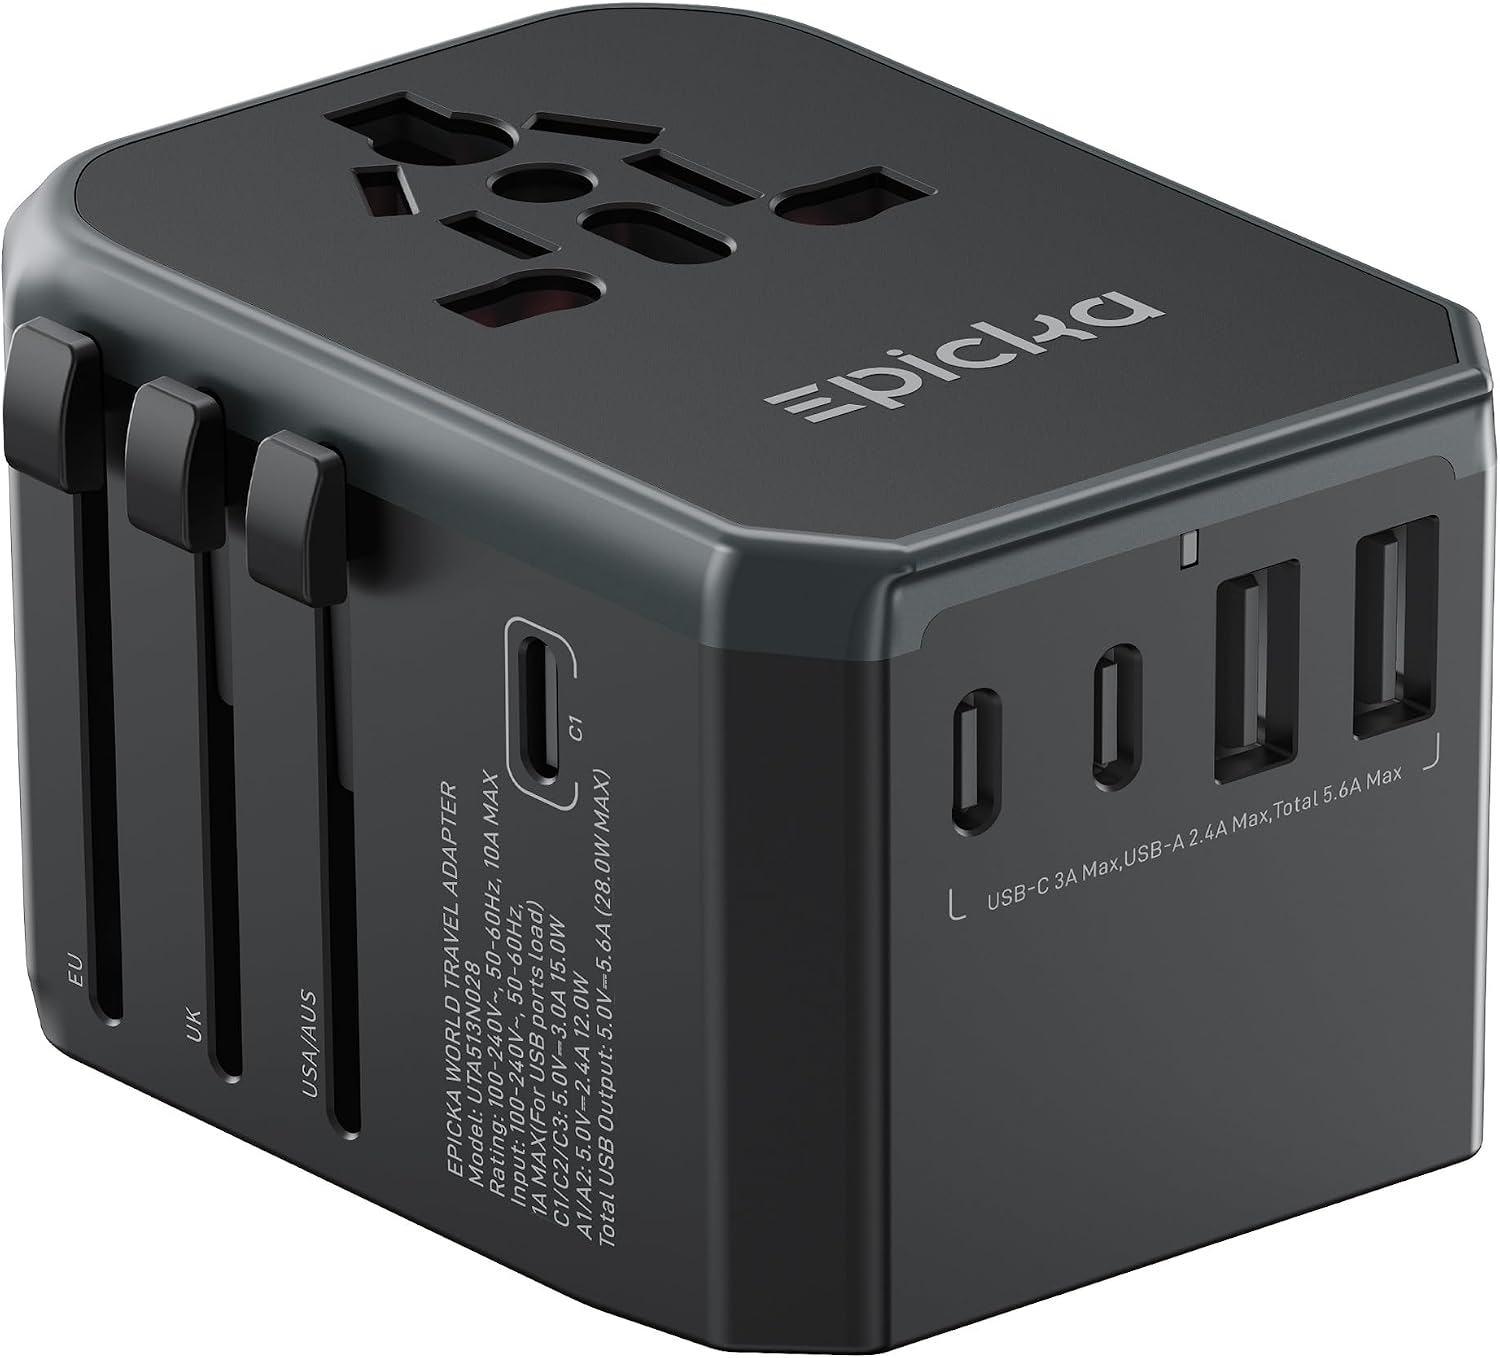
For international travel, bring a universal travel adapter that works with the plug types at your destination. Check voltage requirements for your devices—most phone and laptop chargers are dual voltage (100–240V), but verify before plugging in.
Download movies, shows, podcasts, and maps to your device before you leave home. Airport Wi-Fi can be slow or unreliable, and you may not have cellular data abroad. Offline content ensures you are never bored during a delay.
Keeping documents safe
Your passport, boarding passes, and other travel documents are the most important items you carry. Losing them can derail your trip. Protect them with a few simple habits.
Use a travel document organizer or a slim passport wallet that holds your passport, boarding passes, credit cards, and cash in one place. Keep it on your body (in a zippered pocket or inside your jacket) rather than in a bag that could be left behind or stolen.
Make photocopies of your passport, visa, and driver’s license. Keep one set in your checked luggage (if you check a bag) and another with a trusted contact at home. You can also store scanned copies in a secure cloud service or encrypted folder on your phone.
During screening, put your document organizer inside your bag or with your other items in the bin, and check that you have it as soon as your things come out of the scanner, before you start repacking.
If you are traveling internationally, register with the Smart Traveler Enrollment Program (STEP) so the nearest U.S. embassy can assist you if your passport is lost or stolen. Also carry two passport-sized photos in case you need an emergency replacement.
At the gate, keep your boarding pass and ID in hand until you are past the boarding agent. After boarding, store them in a safe pocket inside your personal item—not in the overhead bin—so you have them ready for customs or immigration upon arrival.
FAQ
How early should I arrive at the airport?
General guidance from airlines is to arrive at least two hours before a domestic flight and three hours before an international flight. Check your airline’s specific recommendation, as some airports and peak times may require more time.
Can I bring a reusable water bottle through security?
Yes, but it must be empty when you go through the security checkpoint. You can fill it at a water fountain or hydration station after screening. A collapsible water bottle is a space-saving option.
What should I do if my flight is delayed and I have a tight connection?
Check your airline’s app for automatic rebooking options. Go to the gate agent or customer service desk as soon as you land. If the delay is long, ask about meal vouchers or hotel accommodations. Keep your phone charged and notifications on.
How do I keep my phone charged during a long layover?
Carry a fully charged power bank and a long charging cable. Look for outlets near your gate or in a food court. If outlets are scarce, use a multi-port charger to share with a neighbor—often they will let you use the outlet too.
Getting through airport security and layovers smoothly comes down to preparation. Pack your personal item with the essentials, keep your documents secure and accessible, and always have a backup plan for charging and delays. By following these steps, you can reduce stress and focus on enjoying your trip.